M365 File Uploader for Gravity Flow provides functionality for uploading files to SharePoint as a Gravity Flow workflow step.
Setting up Microsoft® Graph services for WordPress
Configuring a vault key
If you haven’t configured a vault key before, you will see the following message:
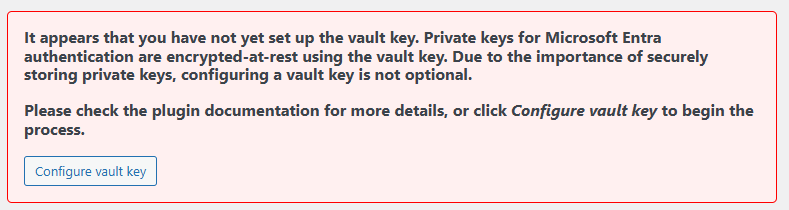
Click the Configure vault key button. A unique vault key will be generated, and you will be given instructions for how to install it.
Once the vault key has been configured, you can refresh the page, and should see the message has disappeared and the application manager ready for use.
Create an application registration in Microsoft Entra
Before proceeding any further, some setup is required in your Microsoft 365 Tenancy.
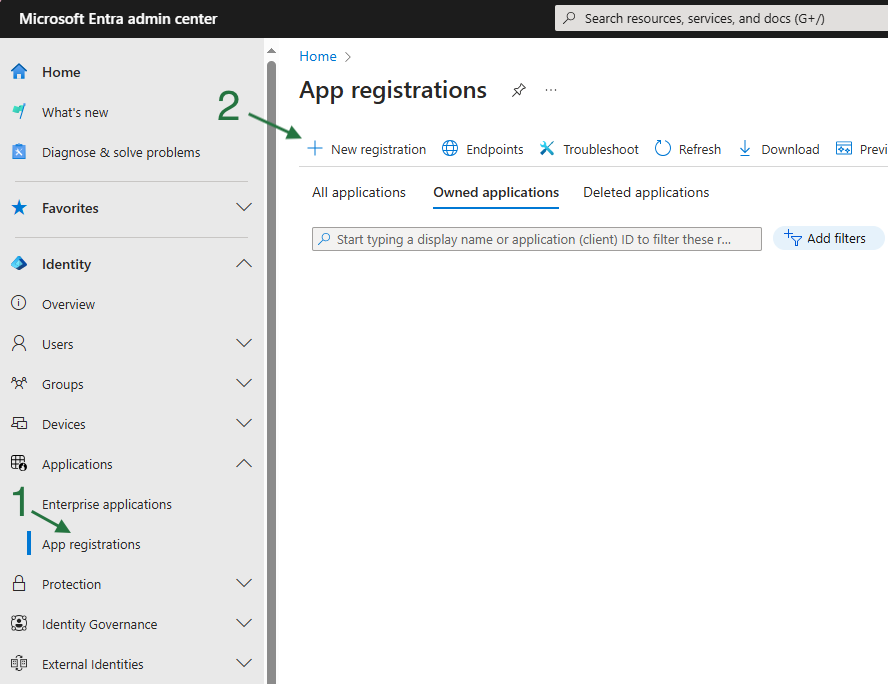
First, go to the App registrations page with the Microsoft Entra admin centre. Add a new registration, give it an appropriate name, and register the app.
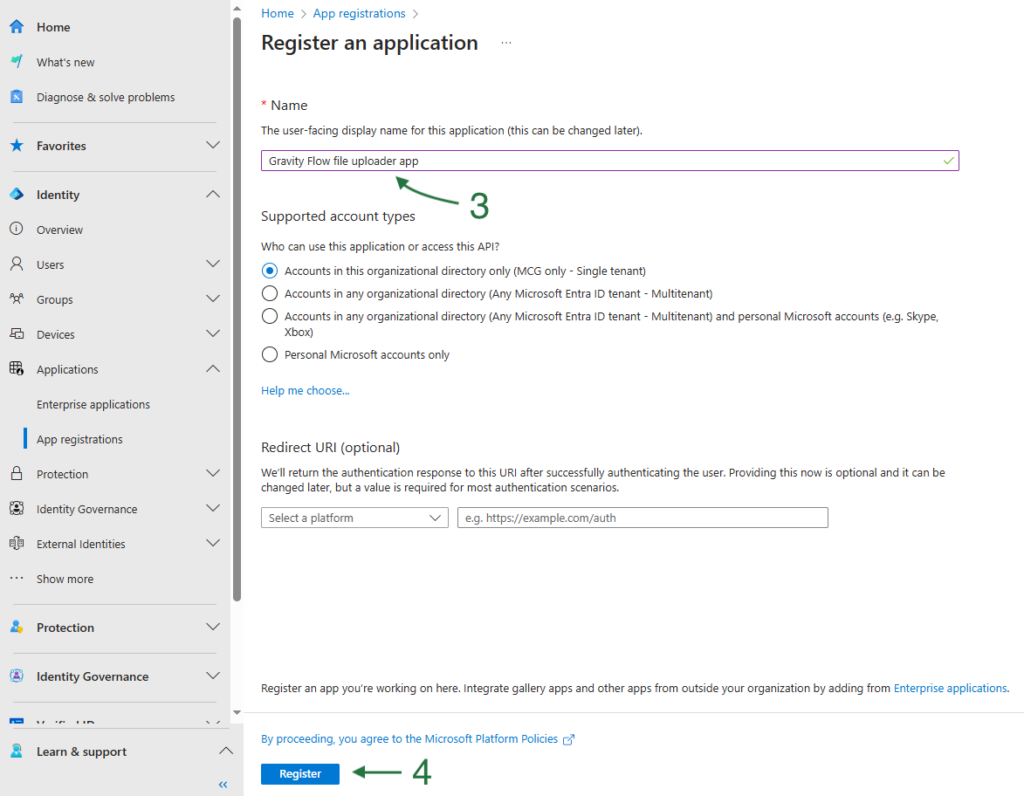
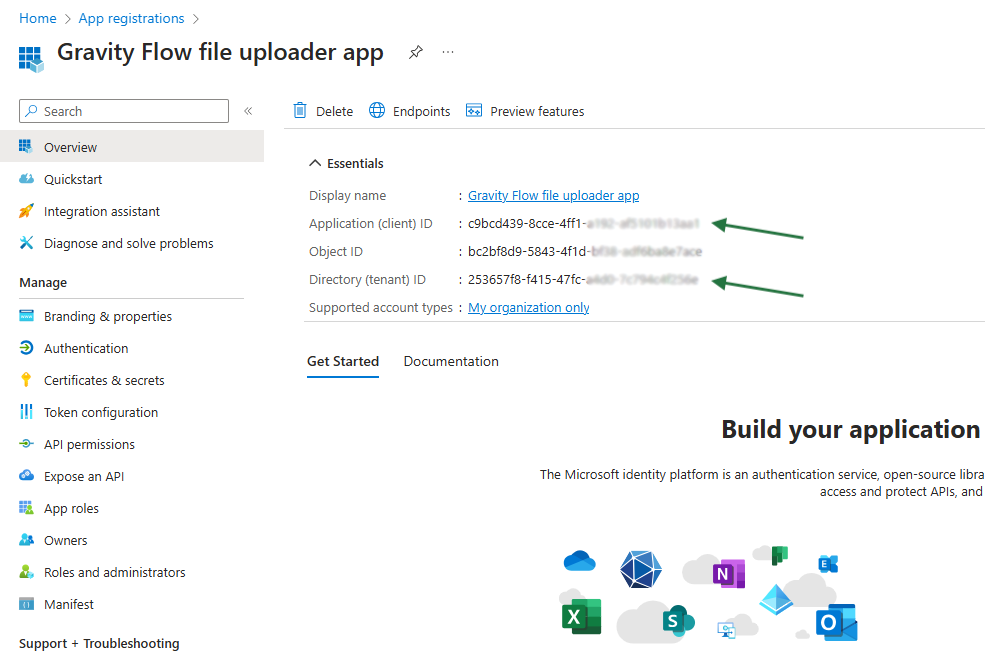
You will be taken to the settings page for the application registration that was just created. Here you will find the Application (client) ID and Directory (tenant) ID that need to be copied into the Microsoft® Graph application manager.
Add application authentication details
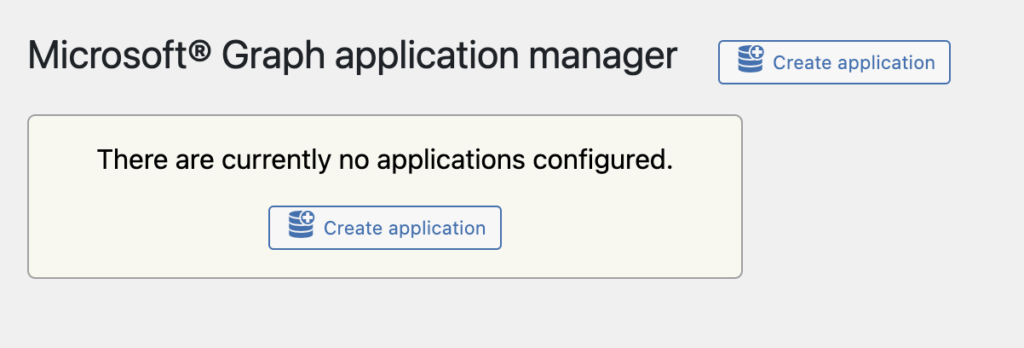
Going back to the Microsoft® Graph application manager in WordPress, click the button to create an application:
After clicking “Create application”, a dialogue box will appear allowing you to enter a Label, a Client ID, and a Tenant ID. The label can be anything you like (e.g. SharePoint file uploader), while the Client ID and the Tenant ID must be obtained from Microsoft Entra. Enter the Application (client) ID and Directory (tenant) ID that were generated in Microsoft Entra into the appropriate fields and click “Create”.

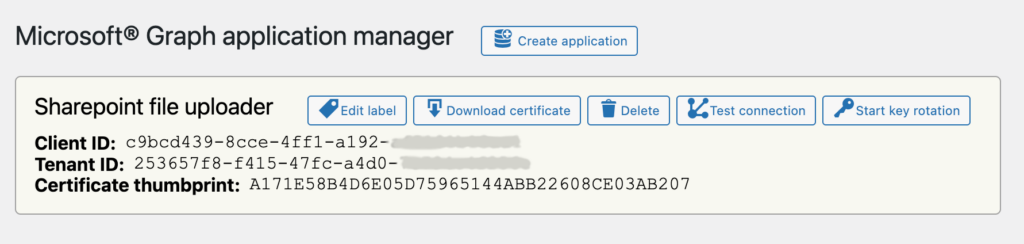
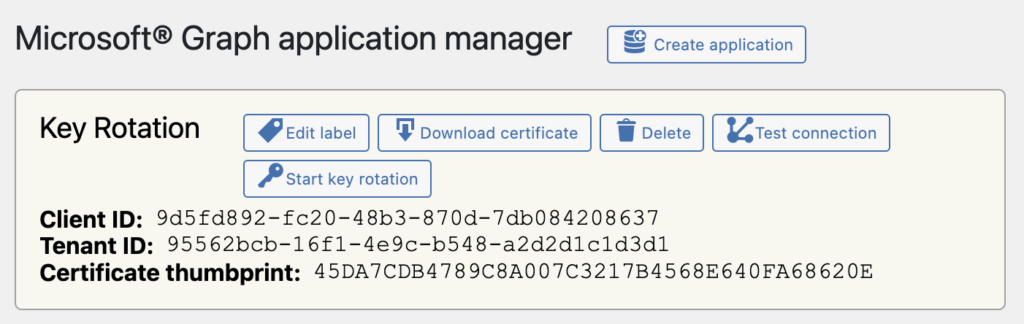
You will now be taken back to the main screen where the application is listed, showing the client and tenant IDs that were just entered. A public/private key pair will have been created in the background, which will be used to complete the authentication with Microsoft Entra. The private key is managed by the Microsoft® Graph application manager, while the public key can be downloaded.
Copy Certificate into Microsoft Entra
Download the certificate to your device, go back to the Entra admin center, and head to the Certificates and secrets page.
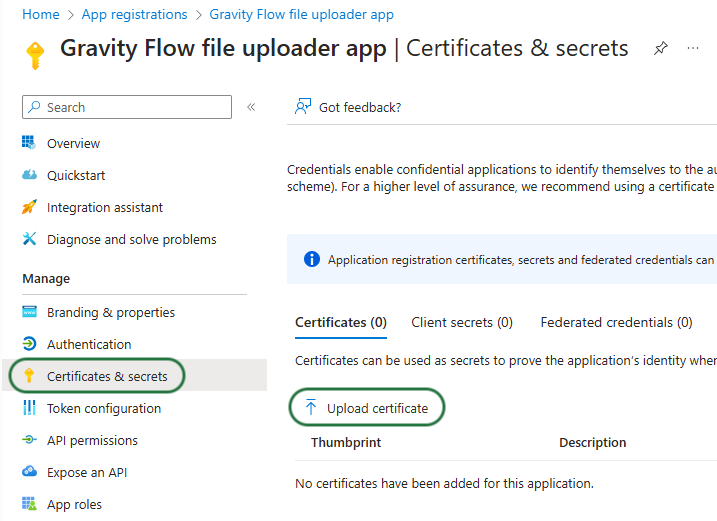
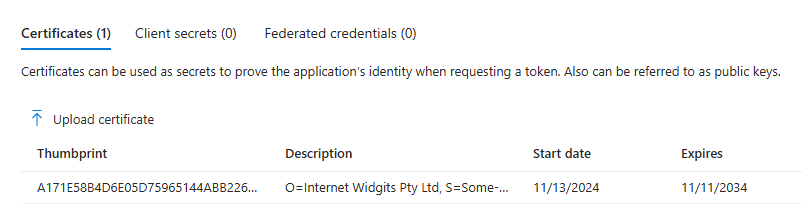
Click on upload certificate to add the certificate into Entra.
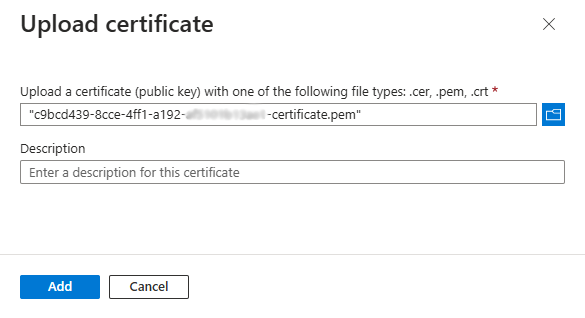
The certificate will now be listed and the thumbprint should match the thumbprint listed in the Microsoft® Graph application manager.
Now, when clicking on Test connection in the Microsoft® Graph application manager, a notice should show to confirm that the authentication is working.

Grant API permissions
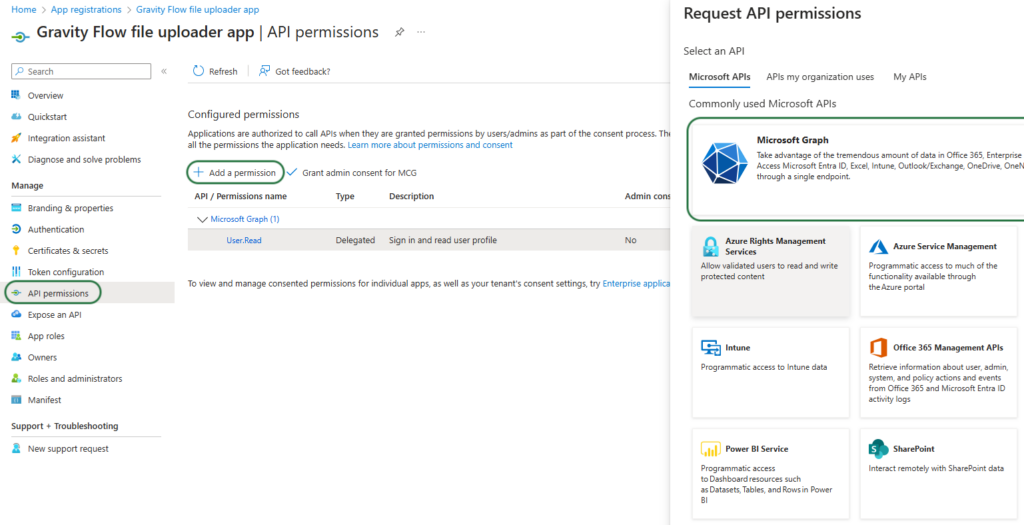
The final step is to grant the required API permissions within Entra that will allow for files to be uploaded. Navigate to API permissions, click Add a permission and choose Microsoft Graph (make sure to choose Microsoft Graph rather than the SharePoint API).
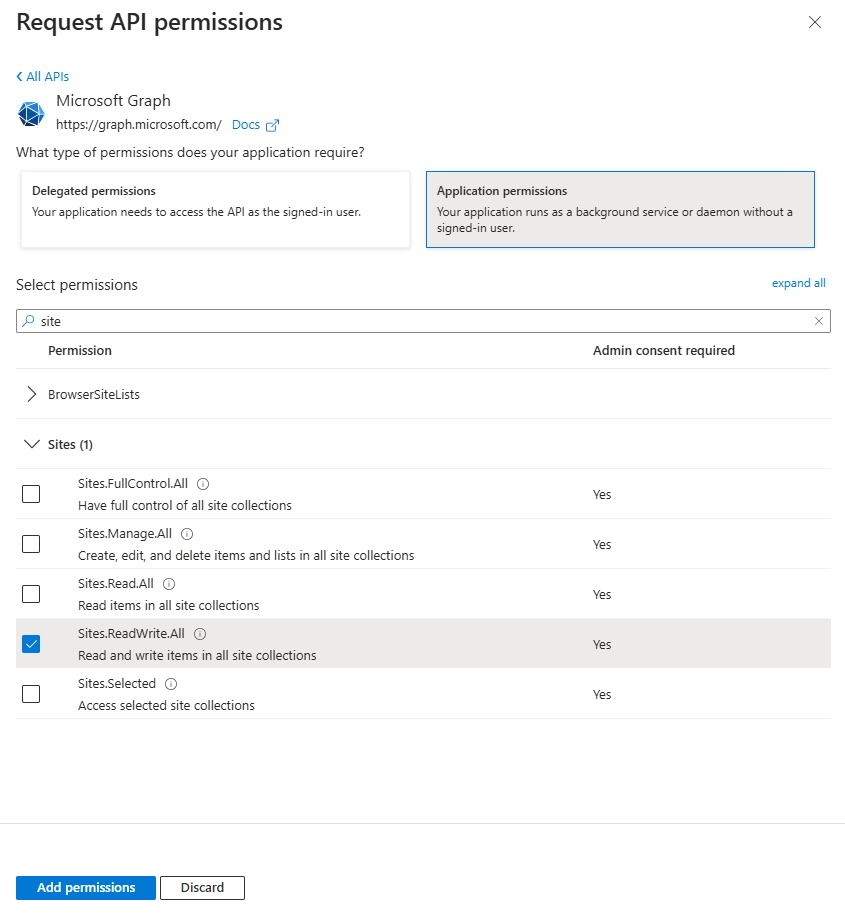
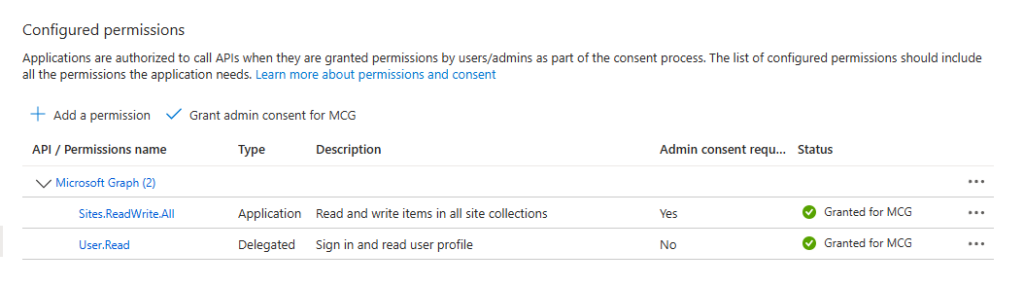
Select Application permissions, then search for “site” and a number of options will show up. For a general setup, select Sites.ReadWrite.All and click Add permissions. Alternatively, if you need to restrict the application access only to certain sites within your tenancy, select Sites. Selected (if this is something you need to implement, please contact us for further details).
On the next screen, click Grant admin consent… and click yes.
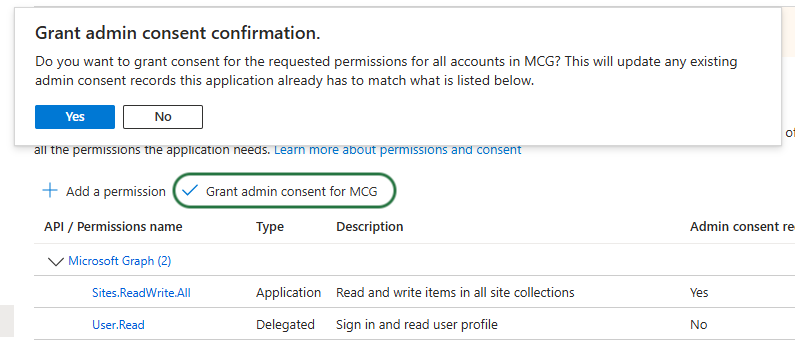
You should now see a confirmation that read and write permissions have been granted for this application. This will allow M365 File Uploader for Gravity Flow to upload files to your SharePoint site.
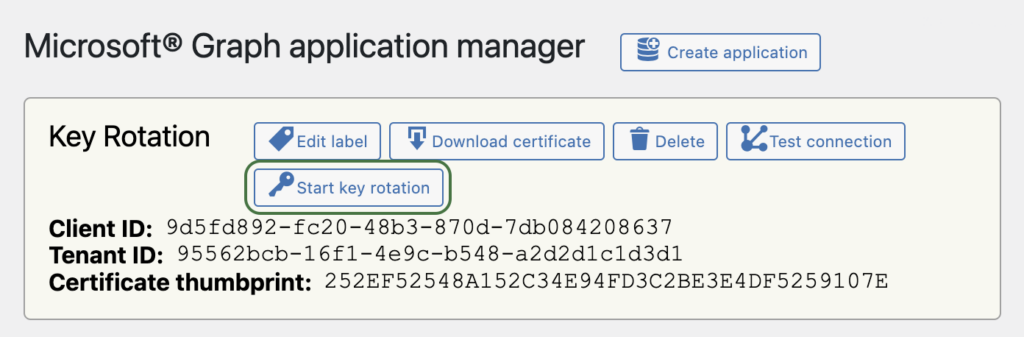
Key rotation (optional)
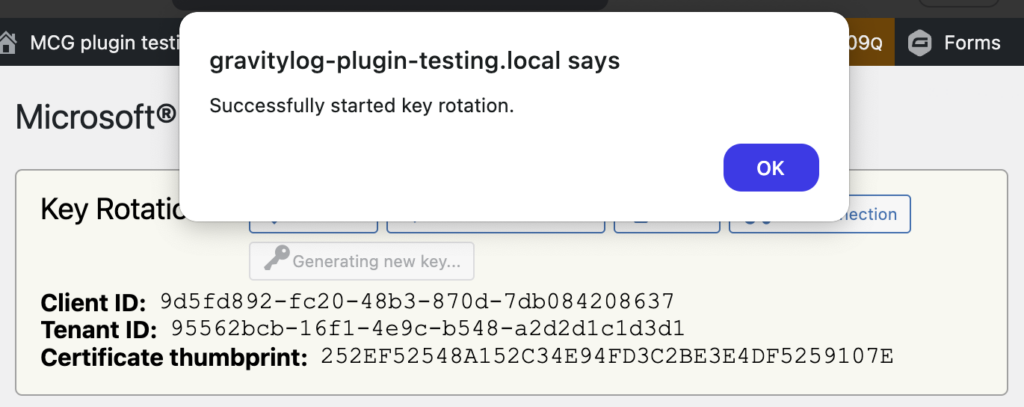
If at any point you wish to change the certificate file (e.g. for added security purposes), click on Start key rotation to generate a new key pair.
This will generate a new pending certificate that can be downloaded and added into Microsoft Entra using the same process described above.
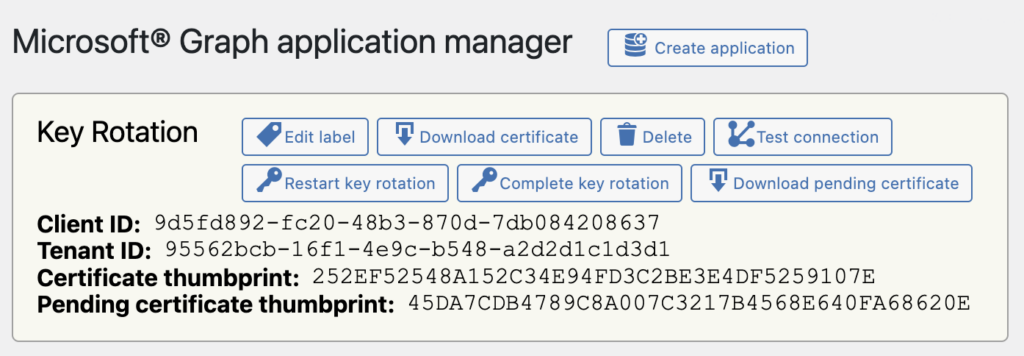
Once the new certificate has been added into Entra, the old certificate can be deleted from Entra and removed from the Microsoft® Graph application manager by clicking Complete key rotation.
Using M365 File Uploader for Gravity Flow
Adding a workflow step
Now that the authentication is set up, we can begin creating the workflow step.
Create the workflow step, give it a name, and select the step type to be Upload a file to SharePoint
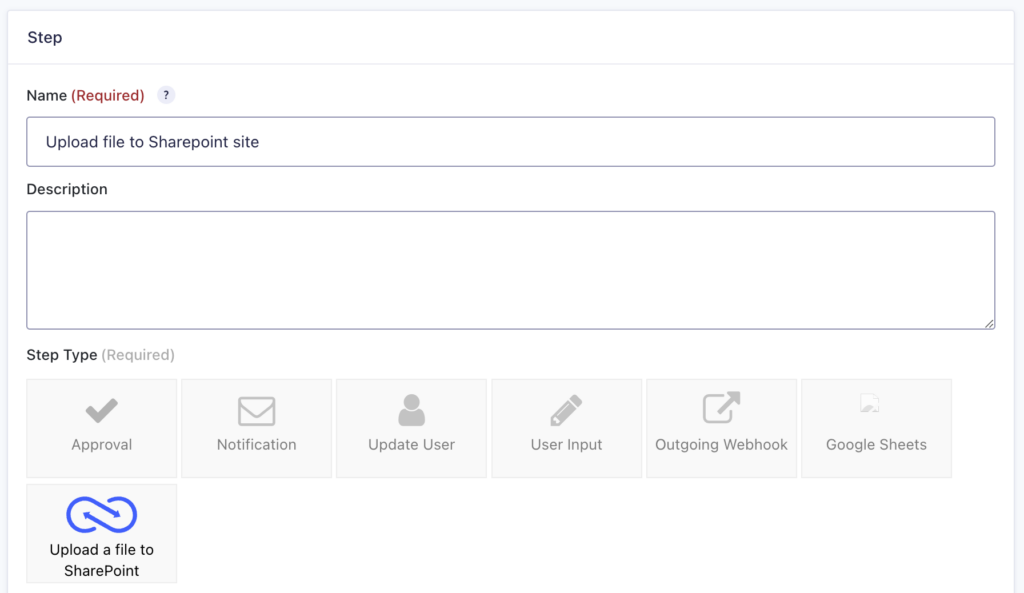
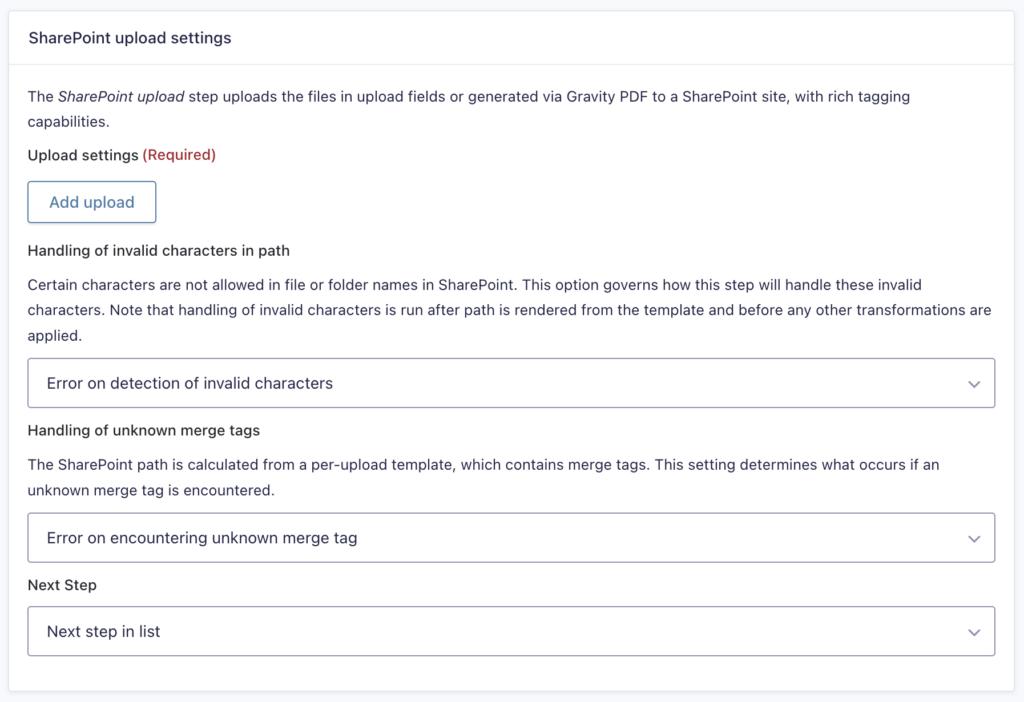
This will add the SharePoint upload settings section at the bottom of the workflow page. Click Add upload to continue
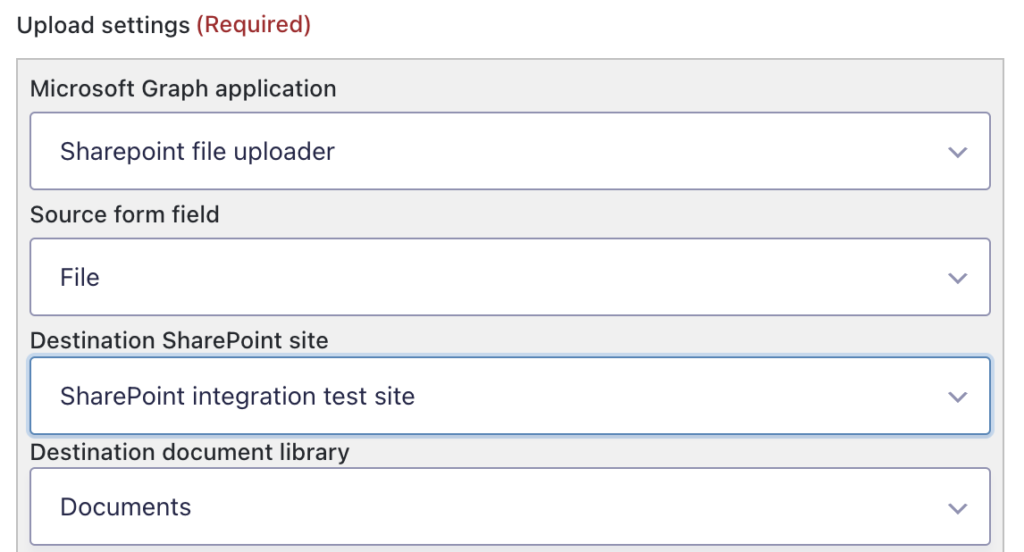
First, select the Microsoft Graph application that was set up and authenticated with Microsoft Entra.
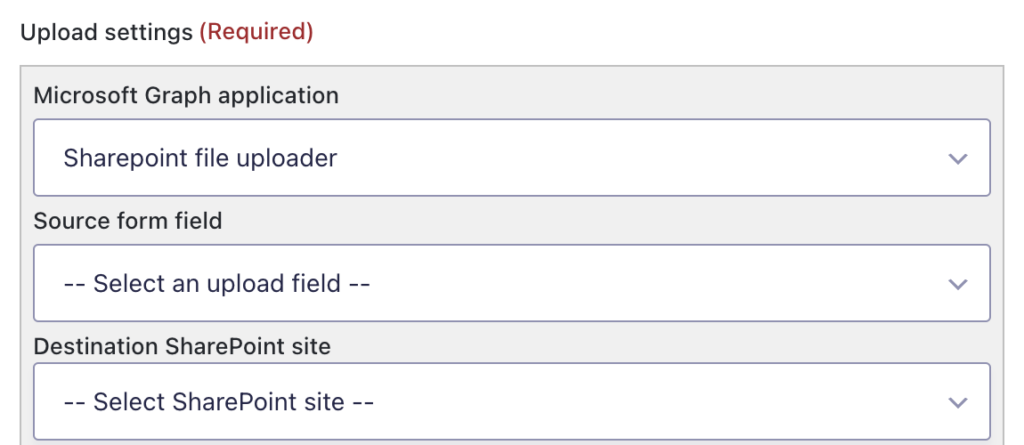
Then select the appropriate form field, SharePoint site, and document library.
Finally, enter a destination path and add any desired metadata columns (the plugin currently supports creating text and number metadata colunms). Merge tags can be used for both of these purposes. The supported merge tags are listed below. Use forward slashes to denote the folder structure of the path. Remember to click Update Step Settings at the bottom of the page to save the settings.
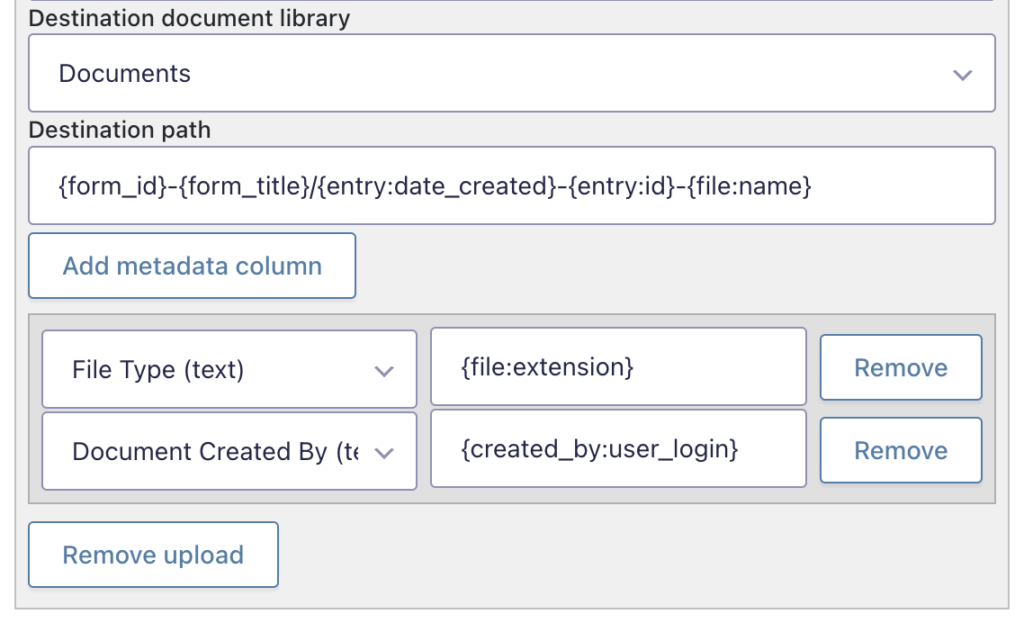
That’s all that is required to upload a file as part of your workflow. Additional files can be uploaded as part of the same step by clicking Add upload and repeating the same process.
Merge tags
Besides the usual Gravity Forms merge tags, the following merge tags are available for use in the Destination path field and the metadata column values:
{file:name} – The original file name.{file:index} – An integer, starting with 1, which indexes files uploaded for a single field.{file:extension} – The file extension of the original file name.{entry:date_created} – The date the Gravity Forms entry was submitted.{entry:date_updated} – The date the Gravity Forms entry was updated.{entry:payment_date} – The date the payment associated with a submission was completed, if any.{entry:payment_status} – The current status of the payment pending for a submission.{entry:transaction_id} – A unique identifier for the payment associated with the submission, if any.{created_by:id} – The WordPress internal numeric identifier for the submitter.{created_by:user_login} – The WordPress username for the submitter.{created_by:display_name} – A label, such as a person’s name, for the user who submitted the entry.{created_by:user_email} – The email address for the submitter.{current_step:id} – The step ID for the workflow step which uploaded the file.{plugin_description} – A description of the plugin that uploaded the file, including version details.{file:sha256} – The SHA–256 hash of the file contents, in lowercase hexadecimal.
Typically, the Destination path should use appropriate merge tags to ensure that the destination file name is unique. This is essential to avoid overwriting files. For this reason, it is unlikely that you will want to use the original filename as a component of the destination path. Instead, you will likely want to use a template which includes the entry ID ({entry_id}) and (for upload fields that accept multiple files) the file index ({file:index}). If you have multiple upload fields per form, you will likely want to prefix the destination file name with something unique for each field.
It is generally recommended that you not use data provided by the form submitter in the Destination path, unless you have taken steps to carefully validate it.
On the other hand, it is usually safe (and useful!) to include data provided by the form submitter in the metadata column values.
Go to the SharePoint File Uploader product page.